
Why passive shopping tools matter for busy families
Most families do not have an hour to scroll comparison pages every time they need a new appliance, school supply, or piece of outdoor gear. The alternative is not to give up on savings; it is to shift the work to tools that run in the background while you handle everything else.
Price trackers, saved searches, and retailer wishlists are each designed to notify you at the moment action makes sense, rather than requiring you to check repeatedly. Set them up once, and they continue working whether you are at the office or at soccer practice. For a fuller picture of how proactive monitoring compares to simply waiting for seasonal sales, see price tracking vs. waiting for sales.
The setup steps below are ordered so that each one builds on the last. Work through them in a single sitting and the system will run mostly on its own.
What you will need
Tools and accounts you will need
None of these tools require technical knowledge. Most need only a free account and a browser. The goal is to cover three layers: a dedicated price tracker, your retailer accounts, and optionally a browser extension that cross-checks prices while you shop.
Dedicated price tracker (web-based)
Monitors product prices over time and emails you when a price drops to your target.
Retailer wishlist or save-for-later feature
Stores items on retailer sites so you receive in-app or email notifications about price changes and restocks.
Price-comparison browser extension
Automatically checks competing prices when you view a product page, without requiring a separate search.
Dedicated email folder or label
Keeps deal alerts organized and separate from personal email so you can scan them in one pass.
For a practical look at how browser-based price tools work and what they actually track, see browser extensions that do the price-checking work while you shop.
Step-by-step setup
Follow the steps below in order. Each one takes five to ten minutes. The whole process fits into a single naptime or a lunch break.
Build your target list
Write down every item your household expects to buy in the next three to six months. Include category, approximate model or specification, and the price at which you would feel comfortable buying. Be specific: "cordless vacuum under $120" is trackable; "vacuum" is not.
Limit this first list to ten items. Tracking too many at once makes the alerts harder to manage and dilutes attention when a real drop arrives.
Set up a price tracker for each item
Open a web-based price tracking service, paste the product URL for each item on your list, and enter your target price. Most trackers let you choose whether alerts arrive by email or push notification. Choose email for now; it creates a searchable record.
Use the tracker's price history graph before setting your target. If an item has never sold below a certain price, setting a threshold well below that range will produce no alerts. A target five to ten percent below the current price is a practical starting point for most household goods.
Add items to retailer wishlists
Log in to each retailer account and add your target items to the wishlist or save-for-later feature. This is separate from the price tracker because retailers sometimes notify wishlist users of price drops that third-party trackers miss, particularly for store-exclusive promotions.
Check your notification settings in each retailer account and confirm that price drop emails are turned on. This setting is often buried under account preferences or marketing communications.
Create a dedicated alerts folder in your email
Set up a filter so that every email from your price tracker and retailer notification addresses lands in a single folder labeled something like "Shopping Alerts". Most email clients let you do this by sender address or subject-line keyword.
Check this folder once or twice a week rather than reacting to each notification as it arrives. Batching your review takes five minutes and prevents the alerts from interrupting your day.
Install a browser extension for passive cross-checking
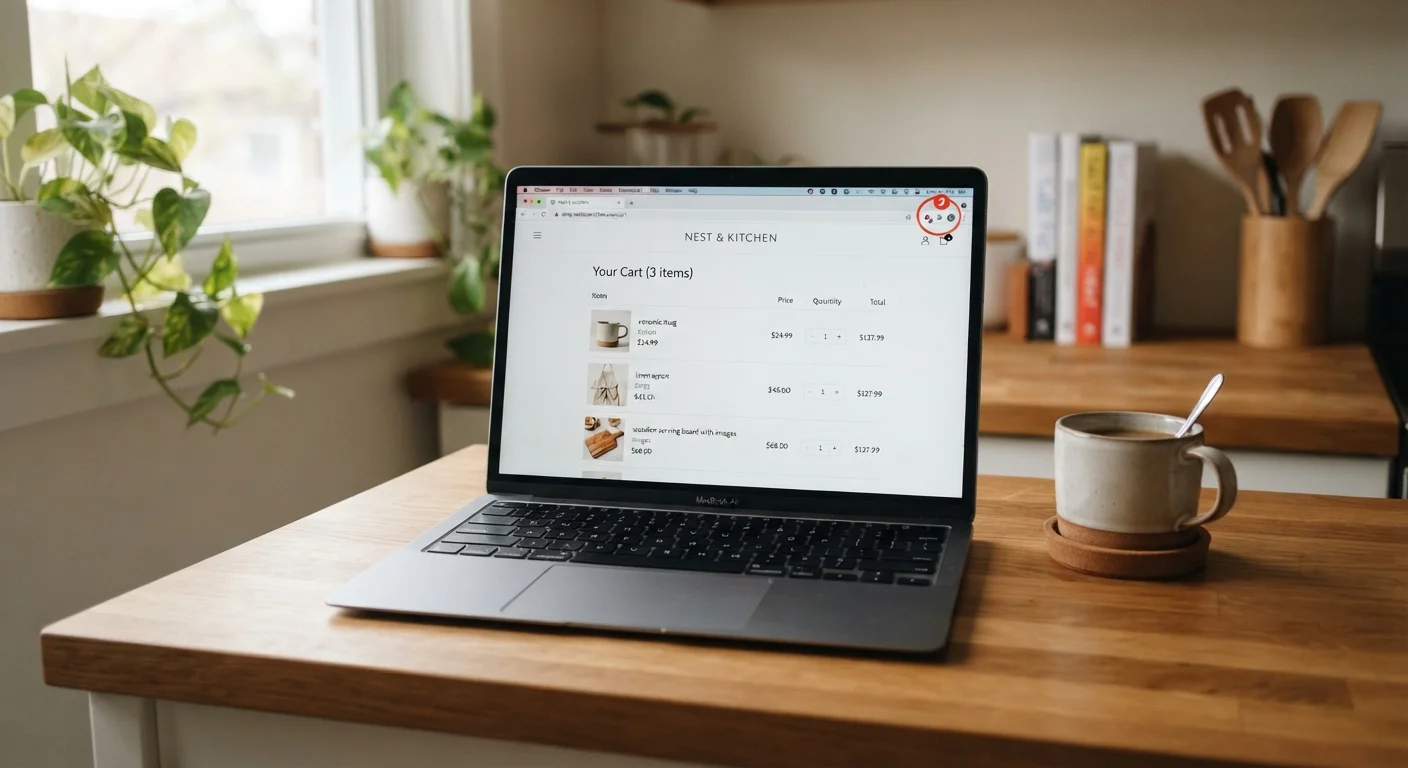
If you want a second layer of coverage, install a price-comparison browser extension from your browser's official extension store. When you visit any product page, the extension checks competing prices automatically and flags if a lower price exists elsewhere.
This step is optional but useful for unplanned purchases. When a need arises that is not already on your tracked list, the extension provides a quick sanity check without any extra effort.
Once your alerts are live, the only remaining task is occasional maintenance. Run through a quick pre-purchase checklist before you act on any alert to confirm the price is genuinely lower and the seller is credible. You can also verify you have not left savings on the table by checking for stacking opportunities such as cashback and coupons. For more on that approach, see stacking savings with coupons, cashback, and store sales.
Keeping your alert system from getting noisy
A well-maintained alert setup sends you relevant notifications and nothing more. Alerts accumulate quickly if you track every item you browse casually, so periodic cleanup matters.
Set a recurring calendar reminder every two to three months to open your price tracker and retailer wishlists. Remove anything you no longer want or have already purchased. Raise price thresholds on items you added speculatively, and archive alerts that have been open for more than six months without a hit. This keeps your inbox clear and the remaining alerts meaningful.
Watch for a common pattern: an item flags as discounted, but the reference price the tracker uses is inflated. Deal hunting myths that cost shoppers money covers this and similar traps in detail. It is also worth reading about how leaving items in your cart can trigger discount emails, a passive tactic that pairs well with the alert system described here.
For broader context on building habits around these tools, building a smarter household shopping routine and family saving habits that hold up over time each offer practical frameworks that complement what you set up here.